The Curl Defining Brush: A Must-Have Tool For Curls

In this blog, we’ll explore the features and benefits of a curl defining brush, provide insights into how to use it effectively, and explain why it’s a game-changer for those with textured hair.
What Is a Curl Defining Brush?
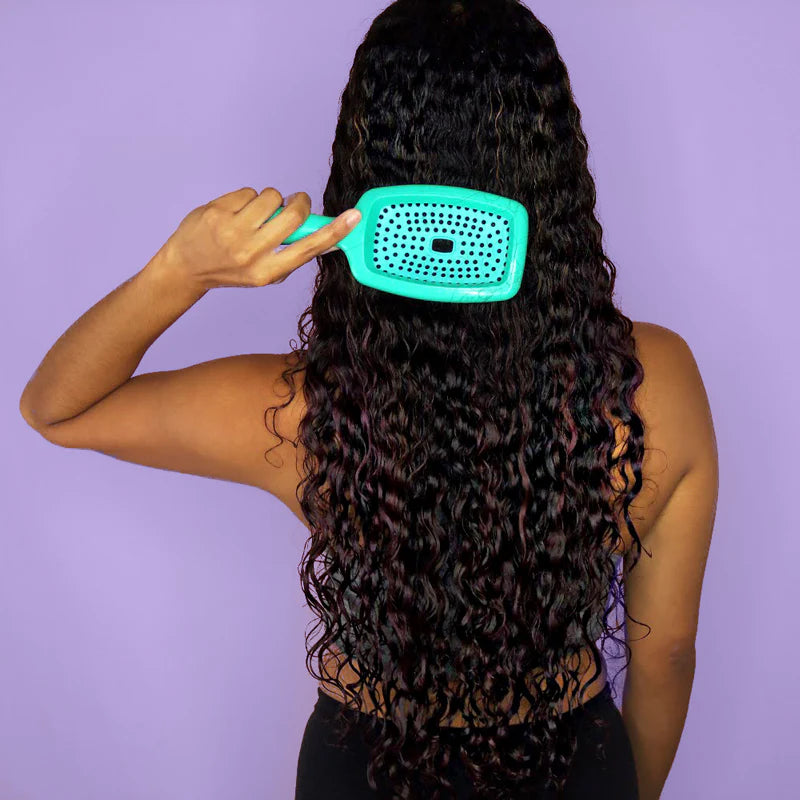
A curl defining brush is specifically designed to enhance natural curl patterns by clumping strands together during the styling process. Unlike standard brushes, this tool often features:
- Flexible Bristles: To glide through textured hair without pulling or causing breakage.
- Curved or Ventilated Design: To create tension that encourages curls to form and dry faster.
- Lightweight, Ergonomic Handle: For comfortable use during longer styling sessions.
This brush works best in tandem with curl-enhancing products such as creams, gels, or mousses, helping to distribute them evenly and enhance their performance.
Benefits of a Curl Defining Brush
-
Enhanced Curl Definition
By grouping hair strands together, the brush amplifies the natural curl pattern, resulting in beautifully defined, bouncy curls. -
Reduced Frizz
The brush helps smooth the hair cuticle as it defines curls, minimizing frizz and promoting a polished look. -
Uniform Curl Patterns
For those with inconsistent curl patterns, a curl defining brush ensures more uniformity, making every curl look intentional and well-formed. -
Even Product Distribution
Applying curl products can be tricky, but a defining brush ensures they’re evenly distributed from root to tip for optimal results. -
Time Efficiency
Using the brush reduces styling time by clumping hair strands quickly, allowing for faster drying and styling.
How to Use a Curl Defining Brush
-
Start with Clean, Damp Hair
A curl defining brush works best on wet or damp hair. Begin with freshly washed hair, and remove excess water using a microfiber towel or a cotton T-shirt to prevent frizz. -
Apply Curl Enhancing Products
Distribute your favorite curl cream, gel, or mousse throughout your hair. This step ensures your curls stay defined and hold their shape throughout the day. -
Section Your Hair
Divide your hair into manageable sections. This allows the brush to work effectively on each part without missing strands. -
Use the Brush to Define Curls
Starting at the roots, gently glide the brush through each section while rotating it slightly to encourage curl formation. For tighter coils, use smaller sections of hair. -
Scrunch for Extra Definition
After brushing each section, scrunch the hair upwards toward the scalp to enhance curl texture and volume. -
Dry and Set
Allow your hair to air dry or use a diffuser for faster results. Avoid touching the curls while they dry to maintain their shape.
Choosing the Right Curl Defining Brush
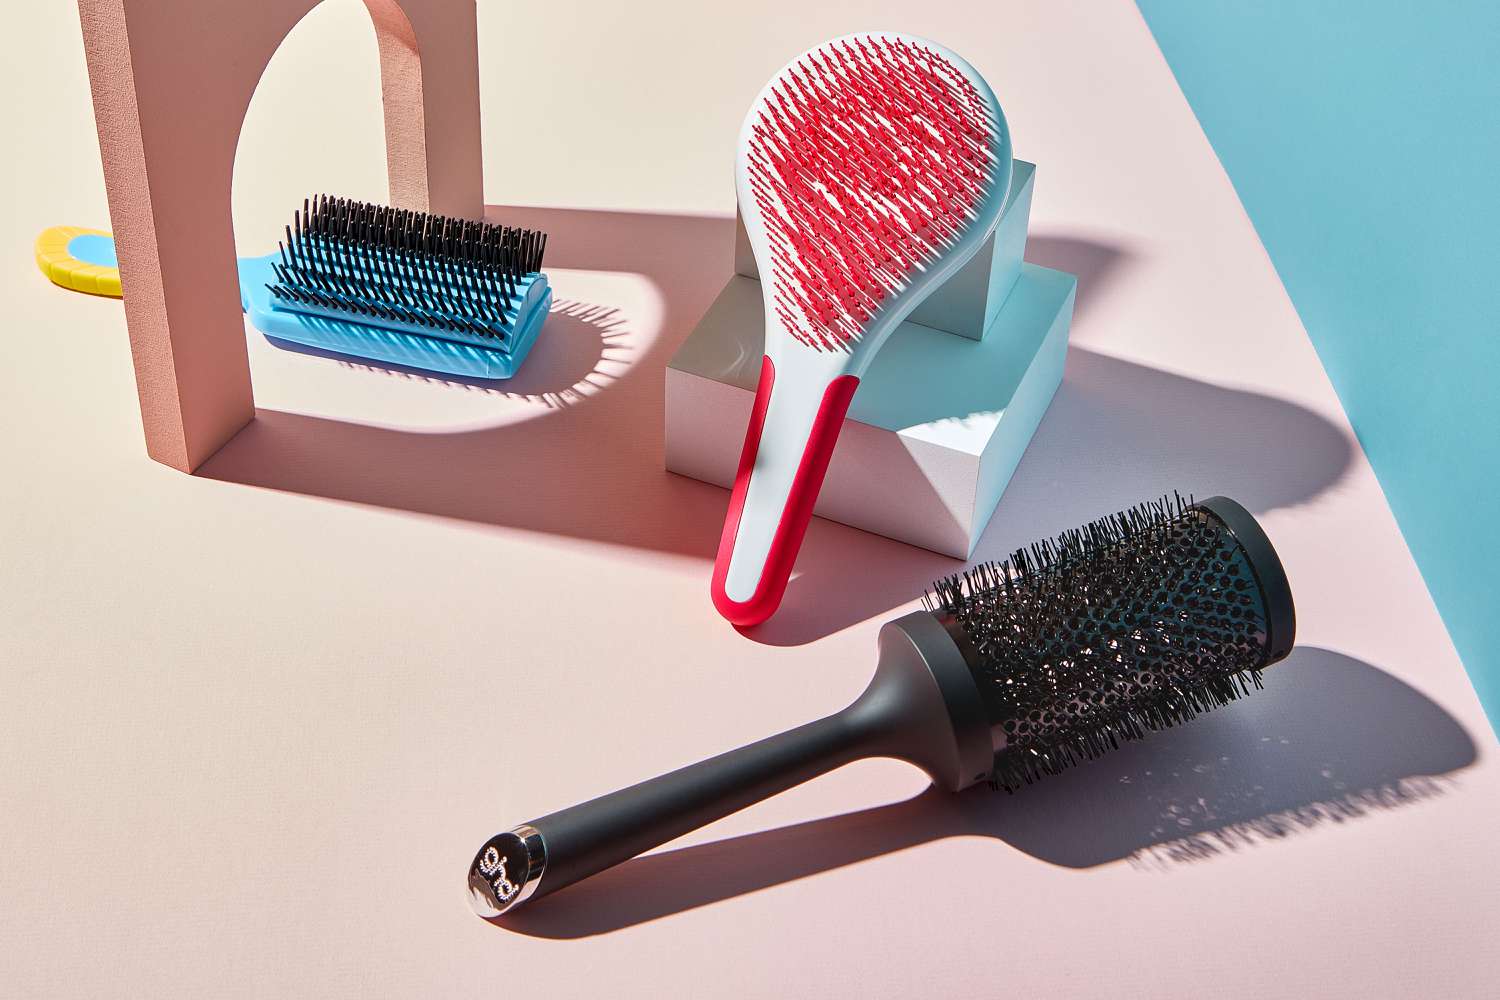
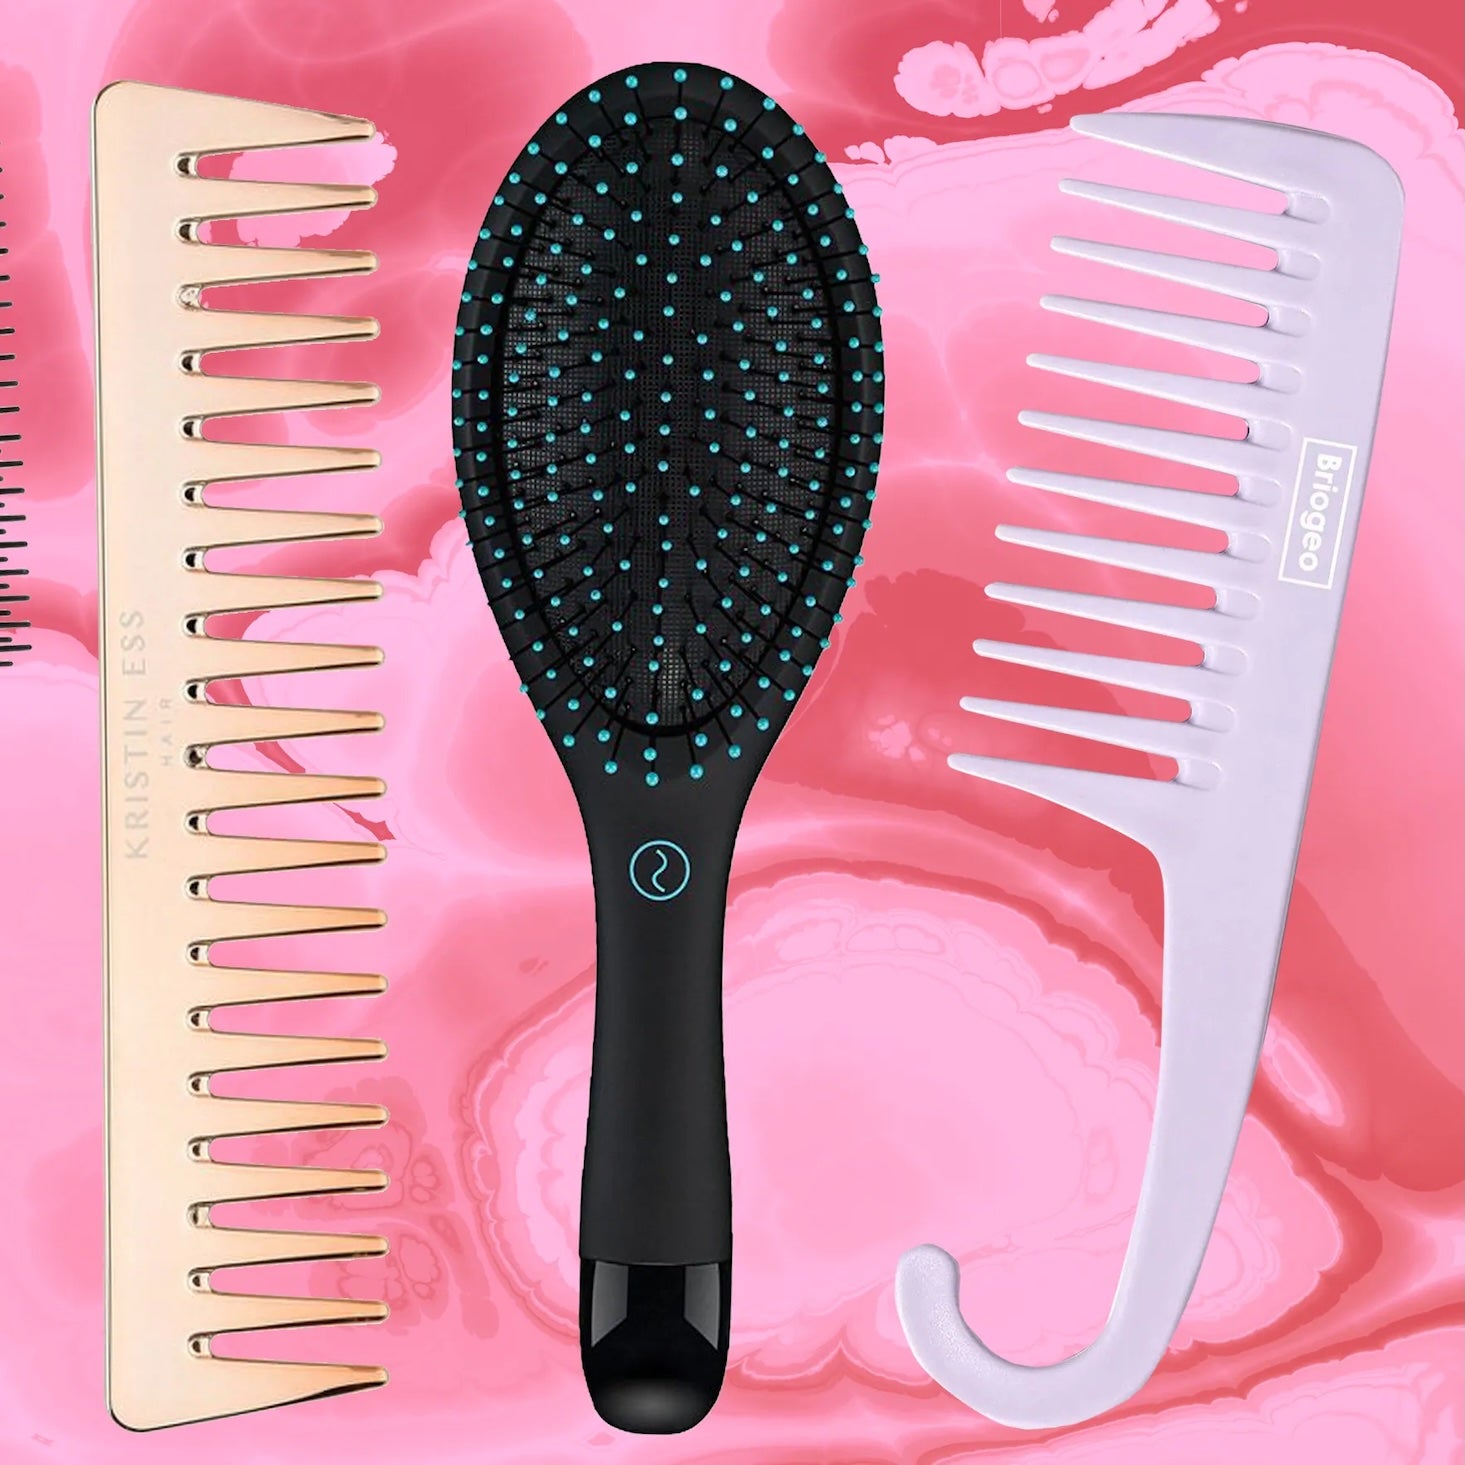
Not all curl defining brushes are created equal. Here’s what to look for when selecting the best one for your hair type:
- Bristle Type: Opt for nylon or flexible bristles to detangle and define without causing breakage.
- Size: Choose a brush size based on your curl type. Smaller brushes are ideal for tighter coils, while larger ones work well for loose waves or curls.
- Design Features: Look for a curved or ventilated design to ensure airflow and encourage faster drying.
Best Practices for Different Curl Types
- Wavy Hair (2A-2C): Use the brush with a lightweight mousse or cream to enhance waves without weighing them down.
- Curly Hair (3A-3C): Combine the brush with a medium-hold gel or cream for well-defined, frizz-free curls.
- Coil Hair (4A-4C): Apply a hydrating curl butter or gel, and use smaller sections to achieve tighter, more defined coils.
Why a Curl Defining Brush Is Better Than Your Fingers
While finger coiling is a common technique for defining curls, a curl defining brush offers several advantages:
- Consistency: The brush creates uniform curl clumps, unlike fingers, which can produce uneven patterns.
- Speed: Brushes cover larger sections of hair at once, reducing overall styling time.
- Smoothing: The brush helps to smooth the hair shaft, reducing frizz and enhancing shine.
Caring for Your Curl Defining Brush
To ensure your brush remains effective and hygienic, follow these care tips:
- Clean Regularly: Remove hair strands after every use, and wash the brush weekly with mild shampoo and warm water.
- Dry Thoroughly: Allow the brush to air dry completely before using it again to prevent bacteria buildup.
- Store Properly: Keep your brush in a clean, dry place to maintain its shape and performance.
Conclusion
The curl defining brush is more than just a styling tool—it’s a transformative accessory for anyone with textured hair. By enhancing natural curl patterns, reducing frizz, and streamlining the styling process, this brush makes it easier than ever to embrace and celebrate your curls.
Whether you’re new to curl care or a seasoned pro, adding a curl defining brush to your routine is a step toward healthier, more defined hair. Pair it with your favorite styling products, and watch your curls come to life with shine, bounce, and volume.
Check articles in curl defining brush, curl enhancer tool, curly hair styling brush, frizz-free curls, curl clumping brush, wavy hair brush, curl care tips, textured hair tools, natural curl enhancement, best brush for curls.


