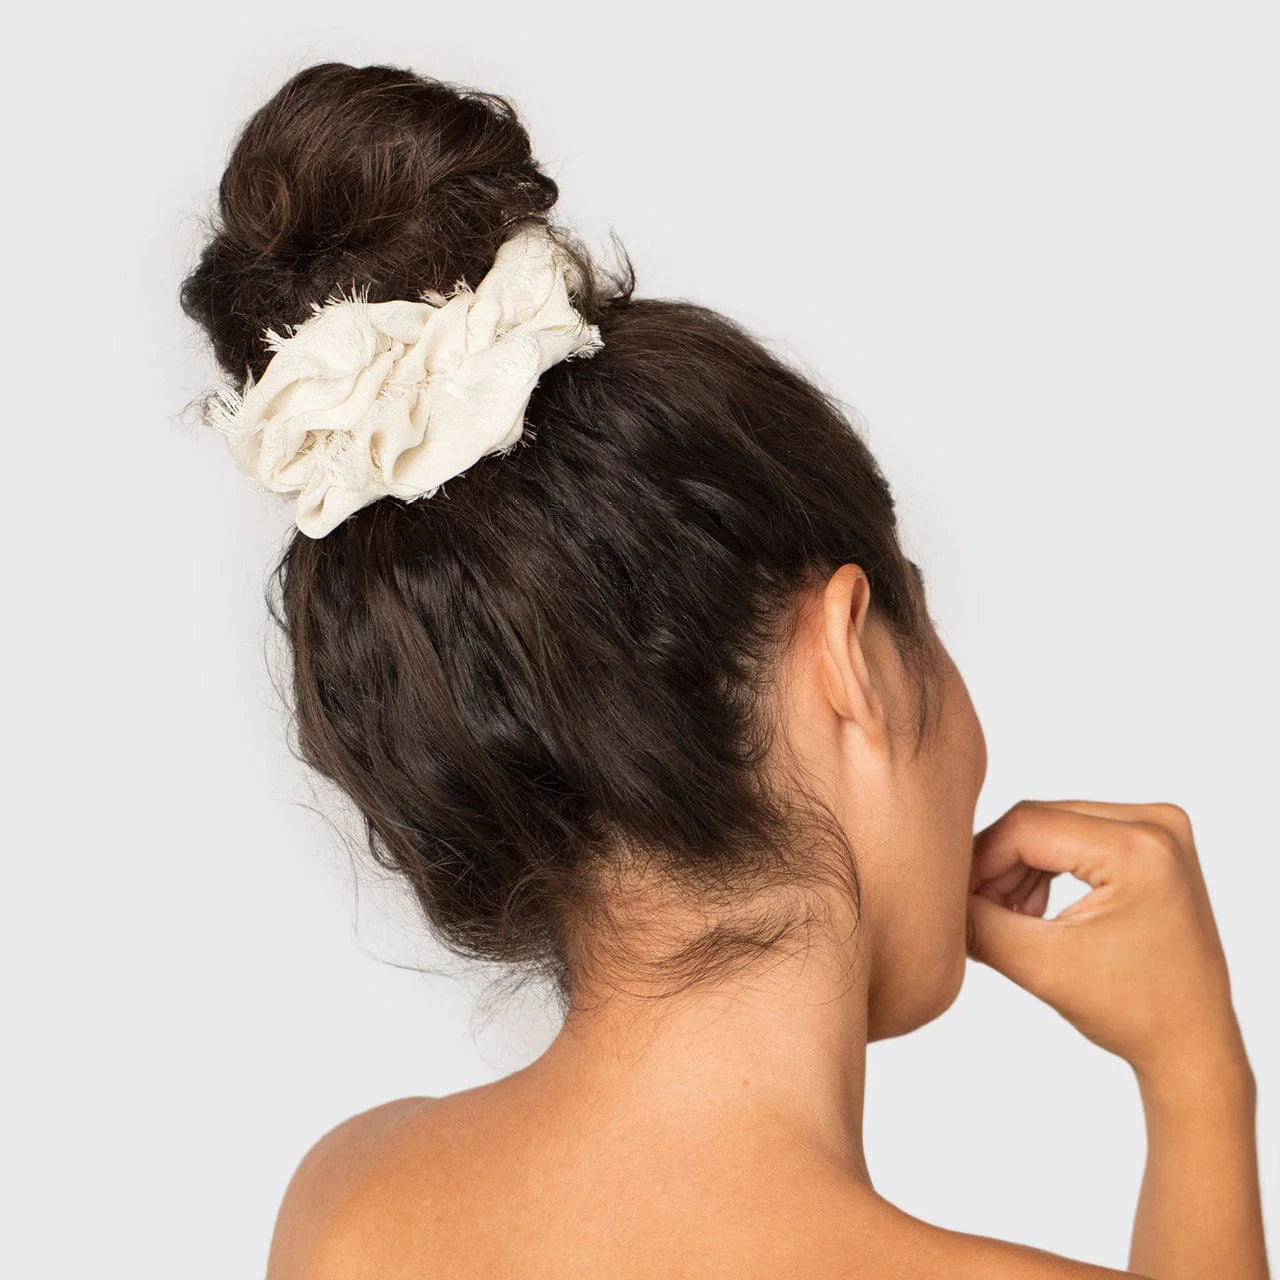
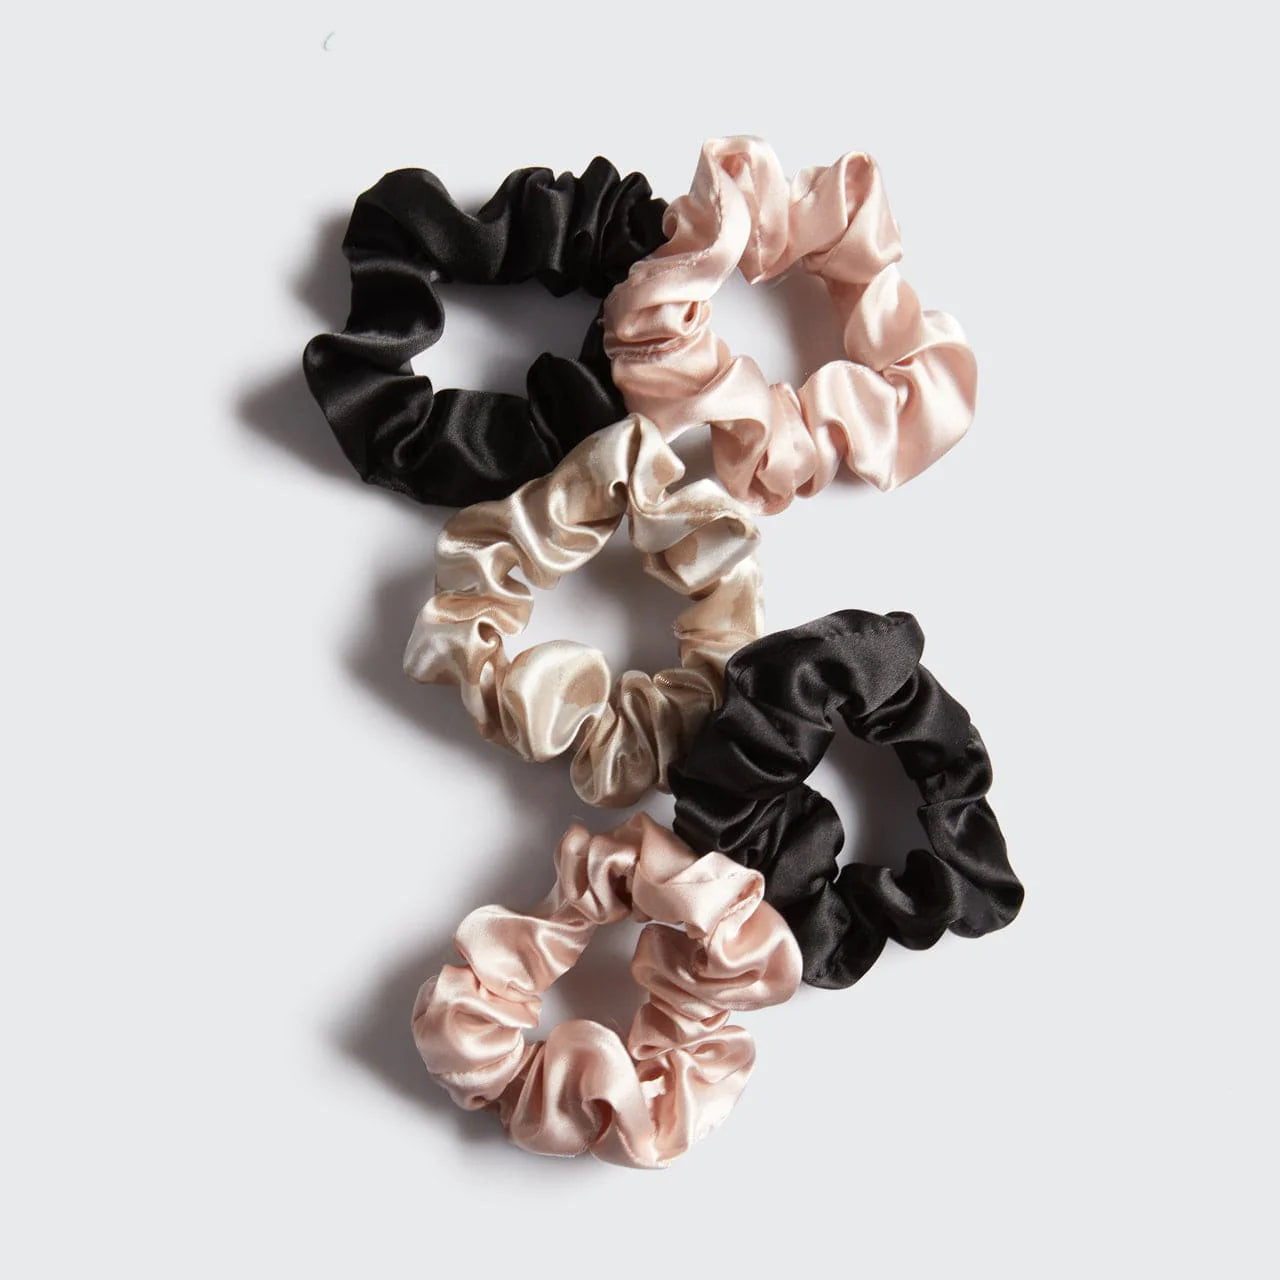
Discover the Secret to the Best Homemade Scrunchie

Are you looking to add a touch of style to your hair accessories collection? Why not try making your own scrunchie! Not only is it a fun and creative project, but you can customize it to match any outfit. Follow these simple steps to create the perfect scrunchie.
Step 1: Gather Your Materials
Before you begin, make sure you have all the necessary materials on hand. You will need fabric, elastic, scissors, a sewing machine (or needle and thread), and a safety pin.
Step 2: Cut the Fabric
Start by cutting a piece of fabric to your desired size. A rectangle measuring 22 inches by 3.5 inches works well for a standard-sized scrunchie. Feel free to experiment with different sizes for a unique look.
Step 3: Sew the Fabric
Next, fold the fabric in half lengthwise with the right sides facing each other. Sew along the long edge to create a tube, leaving the ends open. Turn the tube right side out to hide the seam.
Step 4: Insert the Elastic
Attach a safety pin to one end of the elastic and use it to guide the elastic through the fabric tube. Be careful not to lose the other end of the elastic inside the tube. Once the elastic is all the way through, overlap the ends and sew them together securely.
Step 5: Close the Opening
Tuck the raw edges of the fabric inside the tube and sew the ends together to close the opening. Make sure to reinforce the seam to ensure the scrunchie is secure and durable.
Step 6: Fluff and Enjoy
Give your newly created scrunchie a good fluff to distribute the fabric evenly around the elastic. Now it's ready to adorn your ponytail or wrist with style!
There you have it – your very own handmade scrunchie! Get creative with different fabrics, patterns, and sizes to make a variety of unique scrunchies to suit any occasion. Have fun crafting!


